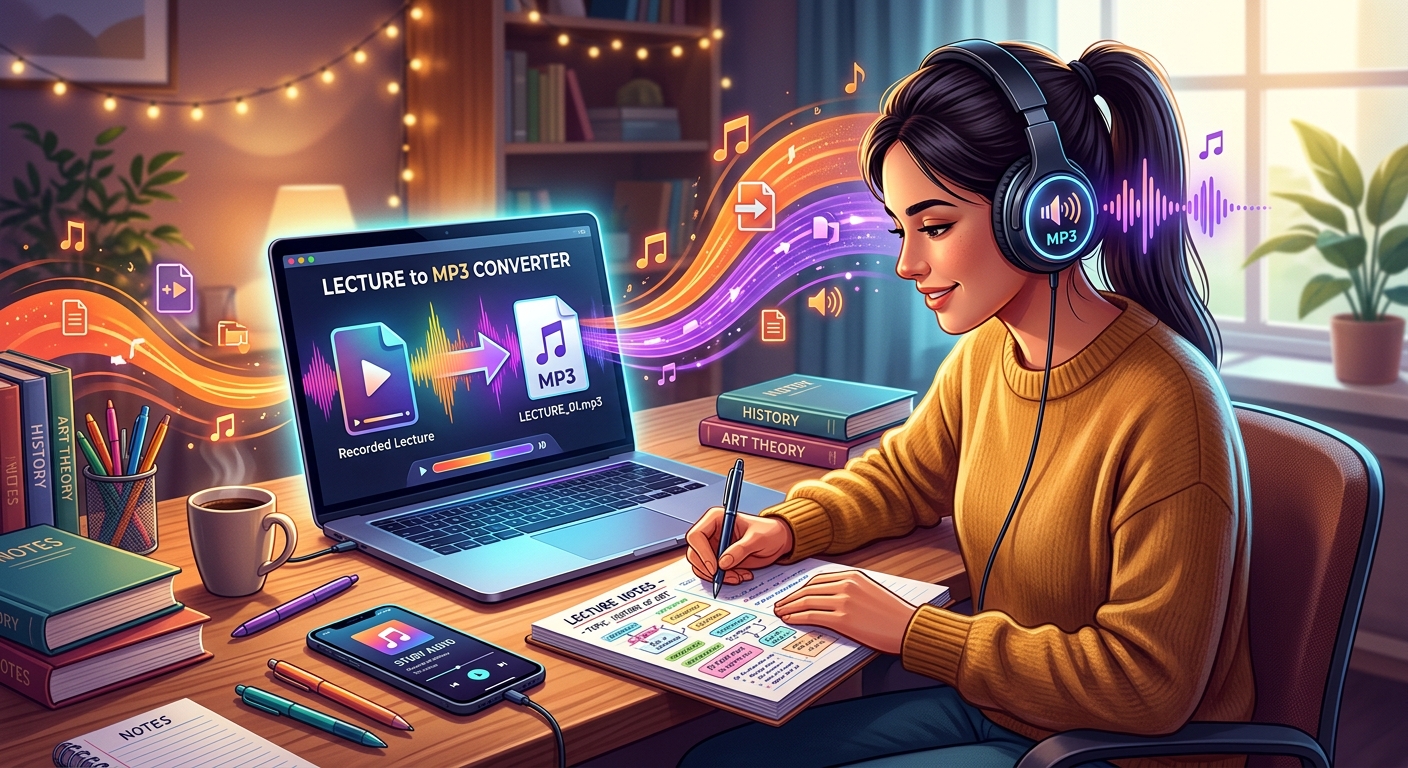
Your next study session could happen on the bus, during a walk, or while you cook dinner. A recorded lecture makes that possible, but a large class video can be awkward to carry around. Converting it to MP3 gives you a smaller audio file you can save on your phone and play without an internet connection. The trick is choosing settings that keep the lecturer clear without filling your storage with unnecessarily large files.
Your Lecture Listening Plan
- Keep the original recording and convert a copy to MP3.
- Start at 96 or 128 kbps, then check speech before converting everything.
- Pair offline audio with searchable notes and verified technical terms.
Decide Whether Audio Alone Fits the Lecture
MP3 works best when the spoken explanation carries most of the lesson. History discussions, language practice, interviews, and many seminar recordings translate naturally to audio. You can replay an argument, review a definition, or hear how your lecturer explains a difficult idea.
A lecture built around diagrams needs a different approach. If the teacher repeatedly says “this curve” or “the equation here,” the soundtrack will lose useful context. Keep the slides or original video nearby. Add a note with the timestamp whenever a visual matters. Your MP3 can still help you review, but it should accompany those materials.
Before converting, confirm that you are allowed to download and use the recording. Use the class platform’s download option when one is available. A recording you can watch online is not always offered as a downloadable file. Keep recordings intended for your class within the permitted audience, especially if they include other students speaking.
Choose MP3 for Convenient Offline Playback
An audio format determines how sound is stored. MP3 is a useful choice for lecture listening because many phones, computers, and portable audio players support it. It also keeps file sizes manageable by discarding some audio information during compression. This is called lossy compression.
That description can sound worrying, but a lecture does not usually need the same settings as a detailed music recording. Your priority is understandable speech. You want consonants, names, and quiet questions to remain clear enough to follow.
AAC is another lossy format. It can offer good sound at smaller sizes, and it may already be the audio format inside your class video. If that existing audio plays on your device, converting it may be unnecessary. MP3 becomes useful when you want a consistent format across your study recordings.
WAV files often contain uncompressed audio and can be much larger. FLAC uses lossless compression, which preserves the audio data it receives. Both can be useful for keeping high-quality source audio, but neither is usually necessary for a listening copy of a lecture. Converting a compressed recording to WAV or FLAC cannot restore details already lost.
OGG is a container that can hold audio encoded in formats including Vorbis or Opus. Device support varies. For everyday offline listening with minimal setup, MP3 is often the straightforward choice.
Pick a Bitrate That Keeps Speech Clear
Bitrate describes how much data the audio uses each second. It is usually shown in kilobits per second, written as kbps. A higher setting generally produces a larger file and gives the encoder more room to preserve sound. It cannot repair a muffled microphone or remove background chatter.
For lecture recordings, 96 or 128 kbps is a sensible starting point. Clear speech from one microphone may sound fine at a lower setting. A noisy classroom, several speakers, or musical examples may benefit from more data. Your ears should make the final decision.
Approximate Storage for a One-Hour Lecture
| MP3 Bitrate | Approximate File Size | Useful Starting Point |
|---|---|---|
| 64 kbps | 29 MB | Clear speech when storage is limited; check quieter passages carefully. |
| 96 kbps | 43 MB | Everyday spoken lectures with reasonably clean audio. |
| 128 kbps | 58 MB | A comfortable default for speech and classroom discussion. |
| 192 kbps | 86 MB | Lectures containing music or more demanding audio. |
These estimates assume a constant bitrate and use decimal megabytes. Variable bitrate lets the encoder change the amount of data used across the recording, which makes final sizes less predictable. Either approach can work. If your converter offers only a quality menu, choose a speech or medium-quality setting and check the result.
Mono can also suit a lecture captured by one microphone. Stereo stores two channels and can preserve differences between them. Keep stereo if speakers occupy different channels or spatial detail helps you follow the recording. If you are unsure, leave the channel setting unchanged for your first conversion.
Convert the Recording and Add Notes Midway
Most browser-based conversion workflows follow the same pattern. The button labels may differ, but you select a source file, choose an output format, set audio quality, and download the result. Work through one lecture before processing a whole semester.
-
Save the source recording. Download the permitted lecture video or audio file to your device. Put it in a course folder and keep this original. Check that it plays before starting the conversion.
-
Select the file in your converter. Open a browser-based audio converter that accepts your recording’s format. Choose the file through its upload control. Check any file-size limits and whether processing happens locally or requires uploading the recording.
-
Choose MP3 and create your listening copy. Select MP3 as the output format. Start with 96 or 128 kbps if bitrate controls are available. Convert the file, then download the finished audio. Play a section with normal speech and another with a quiet speaker.
-
Create searchable notes if they would help. Use MP3 to text as an optional step once your audio file is ready. A transcript can help you find a definition or revisit a topic without replaying the entire lecture. Check technical terms, names, numbers, and formulas against the recording before using the text in your study notes. Confirm that uploading the class recording is permitted before sending it to a transcription service.
-
Label the audio and its notes. Give both files matching names, including the course, date, and topic. A name such as “Biology_2026-10-08_Cell-Respiration.mp3” is easier to recognize than a download number. Save corrected notes beside it.
-
Test playback without a connection. Transfer the MP3 to your phone or listening device. Open it in your audio player, turn off network access, and play it again. This confirms that the file is stored locally and ready for your commute or study break.
Check the Audio Before Converting More Lectures
A completed download does not guarantee a useful recording. Listen near the beginning, middle, and end. Check that the audio includes the final explanation and that it has no unexpected gaps. Compare a difficult passage with the same moment in the source file.
If the MP3 sounds noticeably watery or speech becomes harder to understand, try a higher bitrate using the original recording. Avoid converting your first MP3 into another MP3. Each new lossy conversion can discard more information.
If both files sound muffled, the problem likely starts with the recording. Raising the bitrate will make the file larger without fixing the microphone. Try headphones, a quieter listening space, or a slower playback speed. These changes may help you understand speech that remains difficult.
Volume adjustment can help with a consistently quiet lecture, but it also raises background noise. Heavy noise reduction may damage consonants or make voices sound unnatural. Apply audio cleanup cautiously if your tool offers it, and compare the processed version with the original.
Keep Timestamps Useful Across Audio and Notes
Trimming a long setup period can make a lecture more pleasant to replay. It also shifts every later timestamp. If your slides, transcript, or class notes refer to the original timeline, keeping the full recording may be more convenient.
If you remove the first two minutes, record that change in your notes. A reference to minute twelve in the original recording will then fall around minute ten in your edited copy. Keep your transcript aligned with whichever version you plan to study.
Long lectures can be easier to manage as topic-based sections. Split at natural pauses and use descriptive filenames. Keep a little context around each cut, especially when the lecturer introduces a term before defining it.
Use Offline Listening to Build Better Study Notes
Listening is useful for review, but it becomes more effective when you do something with the material. Pause after a major idea and explain it in your own words. Write down a question when an argument feels incomplete. Return to the recording to check your understanding.
A transcript supports this process by making spoken content searchable. Search for a term, locate its explanation, and listen to that section again. Automatic transcription can miss specialized vocabulary or turn a spoken correction into a confusing sentence. Treat the recording as the reference when the wording affects meaning.
Keep your finished notes focused. Include the main claim, a supporting example, and anything you still need to clarify. Add timestamps to difficult passages. Those small references save time when you return before an exam.
Adjust playback speed to the material. Familiar review may suit a faster pace. New concepts, formulas, and unfamiliar pronunciation deserve more time. Pause for slides whenever the explanation depends on something visible.
Make Your Next Lecture Ready for the Journey
Start with one recording and a modest MP3 setting. Check the voices, give the file a useful name, and confirm that it plays offline. Add searchable notes when they help, then verify the details that matter against the audio.
Once that routine works, repeat it for the rest of your course. You will have a manageable listening library and notes that point back to the right moments. A bus ride or a walk can become a useful review session, with your original recordings still available whenever you need the full context.