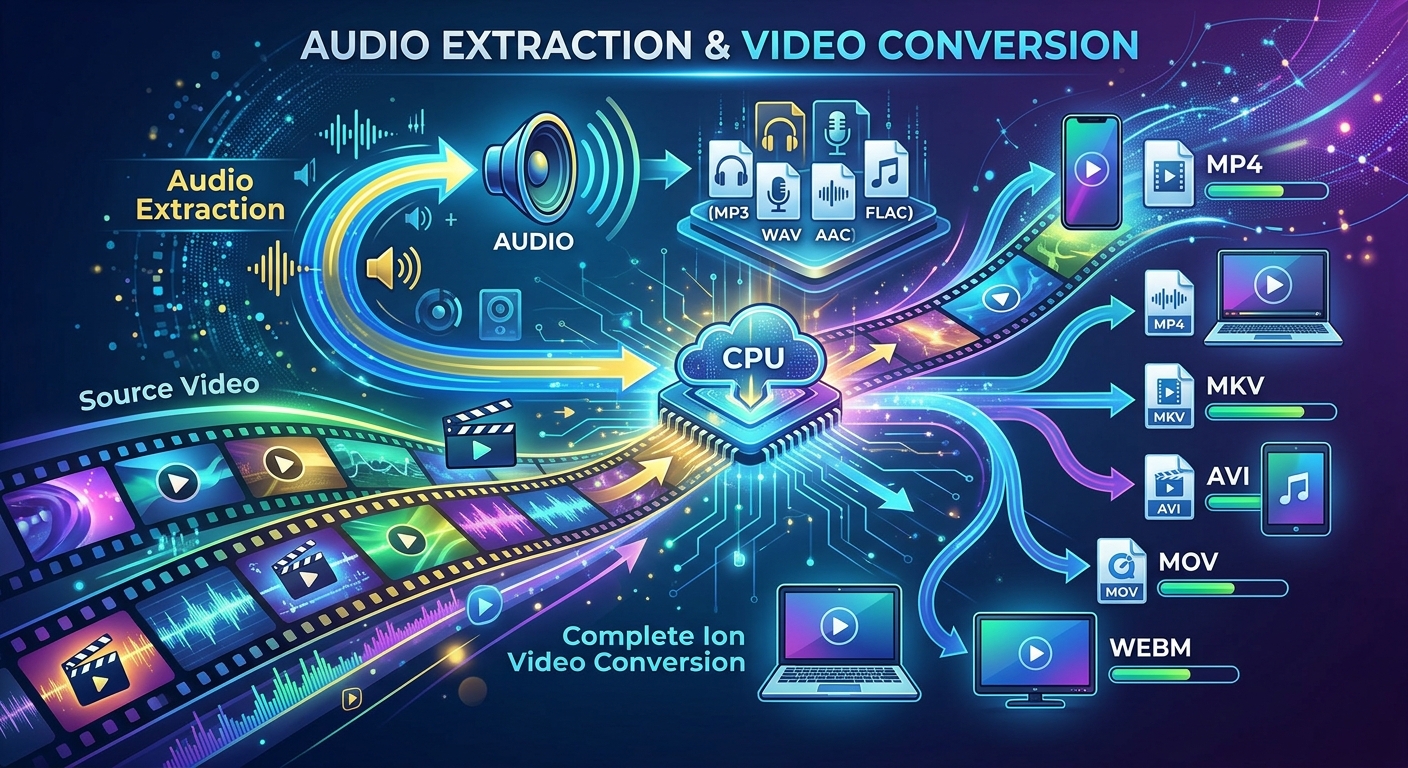
Your recorded lecture plays perfectly on your laptop, but your music player refuses to open it. A family video takes up too much space to share. An interview needs to become an audio file before you can edit it. These problems feel different, yet they start with the same decision: do you need the sound alone, or do you need a playable video with its picture and sound intact? Making that choice first saves time and helps you avoid losing something you wanted to keep.
Before You Convert
- Extract audio when you only need the soundtrack.
- Convert the complete video when the picture still matters.
- Choose settings that suit your player and source file.
- Check privacy details before uploading personal recordings.
- Keep the original until you have tested the finished file.
Decide Whether You Need Sound or the Whole Recording
Audio extraction creates an audio file from a video’s soundtrack. The resulting file has no moving picture. That makes it useful for recorded talks, voice interviews, rehearsal recordings, and lessons you want to hear while walking. It also usually produces a smaller file than keeping the video.
Complete video conversion keeps the visual recording and usually its sound, while changing how the media is packaged or encoded. You might need this because a television cannot play your recording, an editing app rejects it, or a sharing service has a file size limit.
The distinction matters for teaching material. A spoken explanation may work beautifully as audio. A demonstration that depends on diagrams, hand movements, or captions may become confusing without the screen. Listen to a short section with your eyes closed before deciding. If the speaker keeps referring to something visible, retain a video copy.
Understand What a File Extension Actually Tells You
A filename ending in .mp4 identifies a container. Think of that container as a package holding separate parts, potentially including video, audio, subtitles, and other information. A codec is the method used to encode one of those parts.
This explains a common frustration: two MP4 files may behave differently on the same device. Their extensions match, but the video or audio inside may use different codecs. Renaming a file from .mov to .mp4 does not perform a conversion. It changes the label without rebuilding the contents.
For broad everyday compatibility, MP4 containing H.264 video and AAC audio is a common starting point. It is still worth checking the receiving device’s requirements. Older players can have limits involving resolution, frame rate, or audio channels, even when they accept MP4 files.
Audio has similar distinctions. MP3 is widely supported for everyday listening. AAC is another compressed format commonly used in video and mobile playback. WAV often contains uncompressed audio and can become large. FLAC preserves audio losslessly while using compression. OGG is a container often associated with Vorbis or Opus audio, so support depends on what is inside it.
Prepare the Source Before Opening a Converter
Start with the best original you have. A recording downloaded from a messaging conversation may already have been compressed. Converting that copy cannot restore detail that disappeared earlier. If you still have the camera recording or original interview export, use it.
Play the source and confirm that it contains the material you expect. Check its duration, listen for missing sound, and look for an abrupt ending. Conversion is easier to assess when you know whether a problem existed beforehand.
Give the file a useful name before processing it. Something like “biology-lecture-original.mp4” is easier to track than a string of numbers. Save outputs with a different name so you can compare them without accidentally replacing your source.
Extract Audio With Settings That Match the Recording
A free browser-based audio converter fits naturally when you have an ordinary recording and want a listening copy without installing software. Select your source, choose an available audio format, review the settings, and start the conversion. The exact controls will depend on the service.
For spoken material, MP3 at around 96 to 128 kbps is often a reasonable starting point. Background music, noisy rooms, and multiple speakers may need more careful listening. For music, 192 to 256 kbps can provide a useful balance between file size and sound quality. These are starting settings, not promises about every recording.
Bitrate describes how much data is used per second. At a constant 128 kbps, an hour of audio takes roughly 58 MB before small packaging differences. Doubling that bitrate roughly doubles the size. Variable bitrate changes the data allocation as the content changes, so the final size is less predictable.
Choosing a higher bitrate than your source does not bring back lost detail. Converting a heavily compressed recording to WAV produces a larger file, but it does not repair the earlier compression. Use lossless output when your editing or preservation workflow needs it, rather than expecting it to improve a damaged source.
Keep the Picture When Converting a Complete Video
If the visuals carry part of the message, convert an MP4 video with settings chosen for its destination. A phone, classroom projector, editing application, and television may have different requirements. Check those requirements before making a long conversion.
Resolution controls the dimensions of the picture. Reducing a 4K recording to 1080p can make a useful sharing copy, especially when viewers do not need fine visual detail. Small text and detailed screen recordings deserve closer inspection because resizing can make them harder to read.
Keep the original frame rate unless there is a clear reason to change it. Increasing the setting does not automatically create useful detail between existing frames. Changing it unnecessarily can affect motion or introduce repeated frames.
Check audio settings separately. A successful picture conversion can still produce an unsuitable soundtrack if you choose an unsupported audio codec or remove channels you needed. For ordinary listening, stereo is often appropriate. A surround recording may need a different treatment for its intended player.
Check Privacy Before Uploading Personal Material
Browser-based does not automatically mean that processing stays on your device. Some services process files locally in the browser. Others upload them to a server. Read the service’s own explanation before submitting a private recording.
Look for clear information about upload handling, storage, deletion, and access. A browser padlock protects the connection in transit. It does not tell you how long a service retains your file after it arrives.
Medical conversations, confidential work meetings, unpublished interviews, and recordings involving children deserve particular care. If the handling details do not meet your needs, use a trusted local conversion application or an approved workplace tool. For ordinary files you are comfortable uploading, a free browser service can be convenient.
Also consider whether you have permission to convert and share the material. Creating a personal listening copy and distributing somebody else’s recording are separate actions. Keep the intended use clear before making an output designed for sharing.
Validate the Output Before Calling the Job Finished
A completed progress bar confirms that a process ended. It does not confirm that the result meets your needs. Open the downloaded file in the application or device you actually plan to use.
- Check the duration: Investigate an unexpectedly short file or missing ending.
- Sample several sections: Listen near the beginning, middle, and end for distortion, silence, or dropouts.
- Watch speech: Confirm that visible mouth movements match the audio in converted videos.
- Inspect useful details: Check captions, small text, orientation, and any required audio tracks.
- Test the destination: Open the file on its intended phone, player, television, or editing app.
Check file size as well. A dramatic reduction may be intentional, but it can also reveal that you selected a lower quality setting than expected. An unexpectedly large file may mean you chose uncompressed audio or a high video bitrate.
If playback fails, compare the output’s codec, resolution, and audio format with the destination’s requirements. Repeating the conversion with identical settings rarely resolves a compatibility mismatch.
Preserve an Original and Make Copies for Everyday Use
Treat the original recording as your starting point for future work. Make a compressed copy for commuting, a smaller video for sharing, or a lossless audio file for editing when needed. Each copy serves a purpose.
Avoid repeatedly converting one compressed version into another. Lossy encoding can discard additional information each time. Return to the original when you need a different format or a new quality setting.
Keep useful context alongside important recordings. Dates, speaker names, track titles, and a brief description can matter months later. Conversion may not preserve every tag, subtitle track, chapter marker, or item of metadata, so check anything you depend on.
Keep the Sound, the Picture, and Your Options
The right conversion starts with a clear purpose. Extract audio for listening. Keep the video when visual information matters. Choose a format your destination accepts, review privacy before uploading, and test the result where you will actually use it.
A free browser-based service can make an everyday file task easier without a software installation. Pair that convenience with sensible settings and an untouched original. You will have a usable copy today and a reliable source for whatever you need next.